Stream It. Record It. Keep It.

Replay Converter 4 is the easiest way to convert video and audio files from one format to another, rip DVD's, or make CD's and DVD's from video and audio files on your PC. You simply pick the files to convert, choose an output target format, and click GO to start the process. Everything happens automatically.
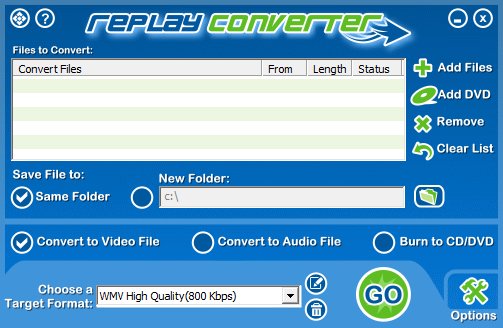
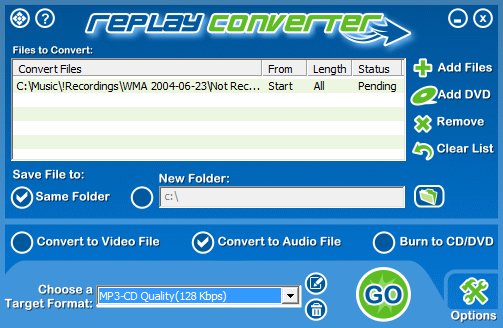
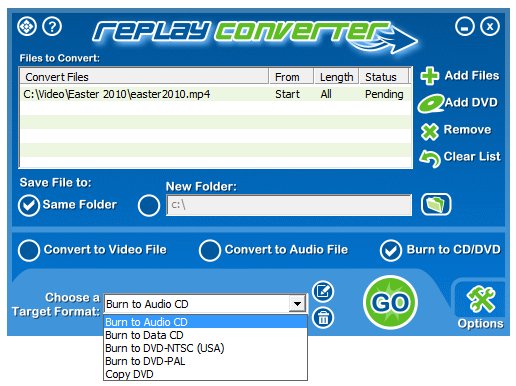
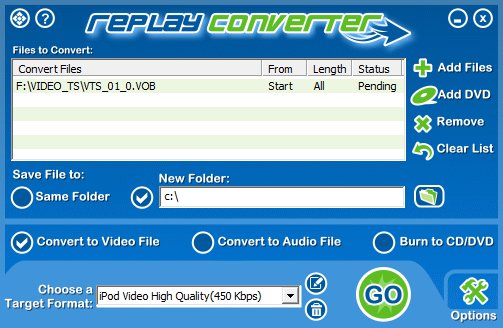
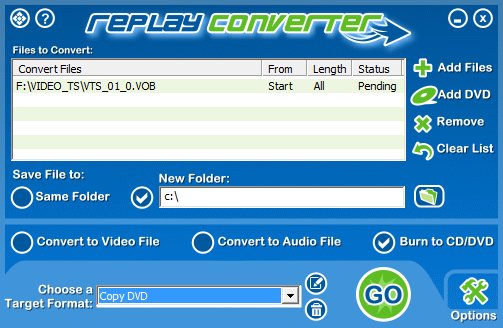
Here's how the main screen of Replay Converter appears:
Replay Converter can convert to and from the following video formats:
For audio, the following formats are supported:
Replay Converter can also make data CD's.
Converting video files is easy - here's how to do it:
Converting audio files is just like converting video files - here's how to do it:
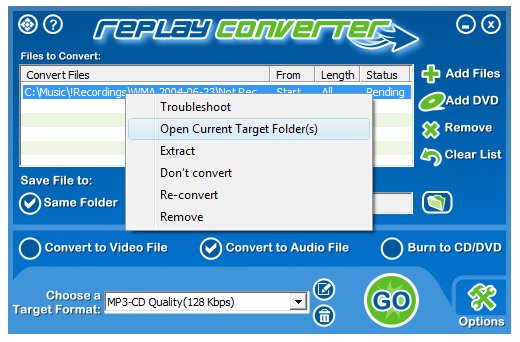
Once a video or audio conversion is complete, you can quickly go to the folder where the converted file resides. Here's how:
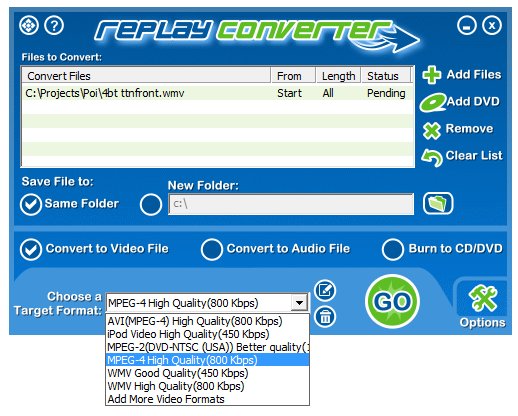
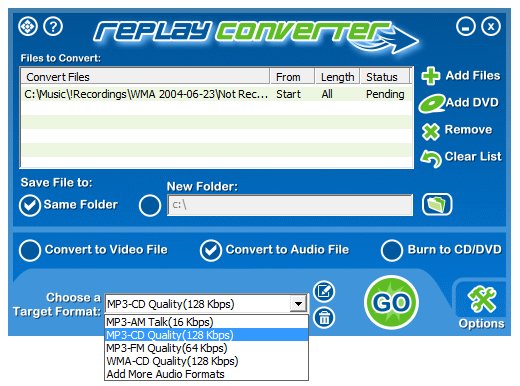
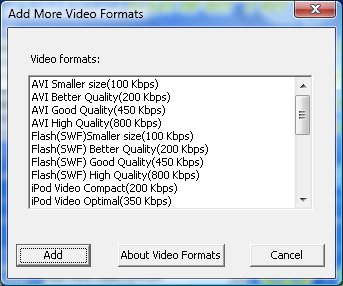
Replay Converter comes pre-configured with the most popular format options readily available. However, it's easy to add more to the drop-down list of options. Here's how to add more video options:
The same process works for adding additional Audio formats as well. Just start by selecting Convert to Audio File and continue with step 2 above.
To delete a target format from the default list:
Note that you can restore deleted formats to the drop-down list using the Add Output Format process above.
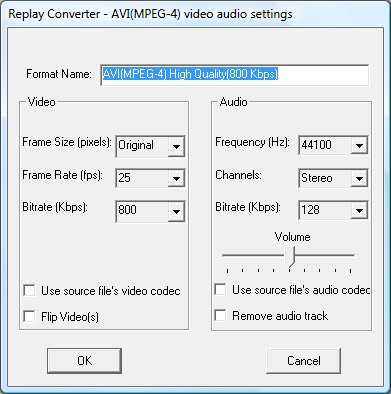
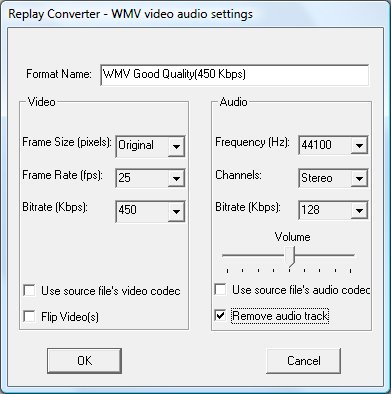
You can customize the parameters used in any predefined video or audio conversion. Here's how:
Replay Converter has the ability to burn DVD discs from a wide variety video files. Here's how to do it:


Replay Converter can make CDs from MP3 and WAV files. Here's how to do it:
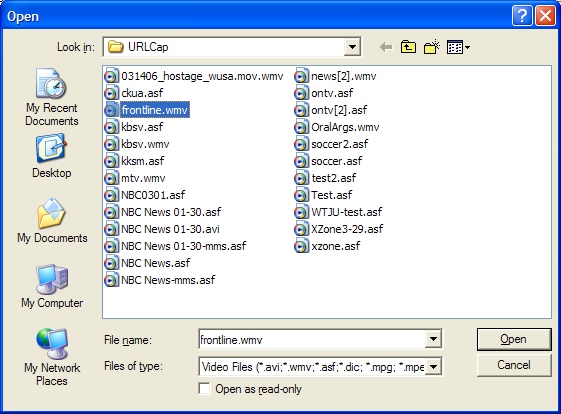
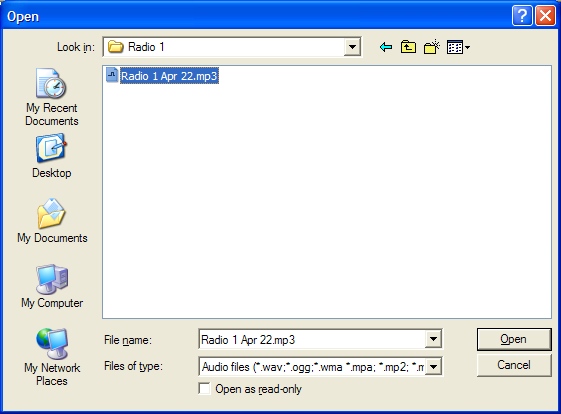
Open Replay Converter, and click Add Files. A file picker appears:
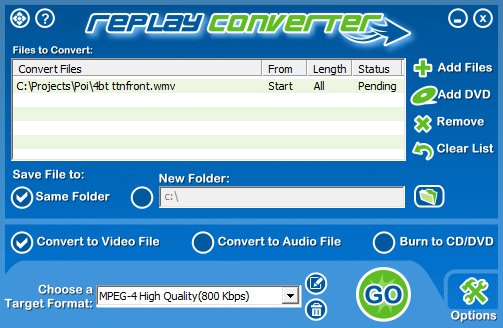
Highlight the audio files for your CD (in the order they are to appear on the CD), and click Open. The files you picked
appear in the list of files to convert:
Repeat the above step if you want to add more files from other folders to your CD.
Choose Burn to CD/DVD, then select Burn to Audio CD from the Choose a Target Format area.

Click Go.
Before a CD is burned, the audio files need to be converted into a suitable format for burning.
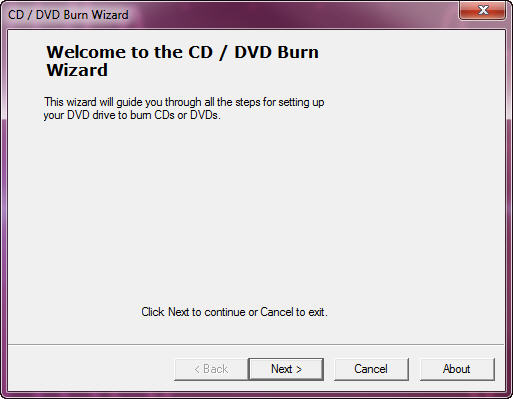
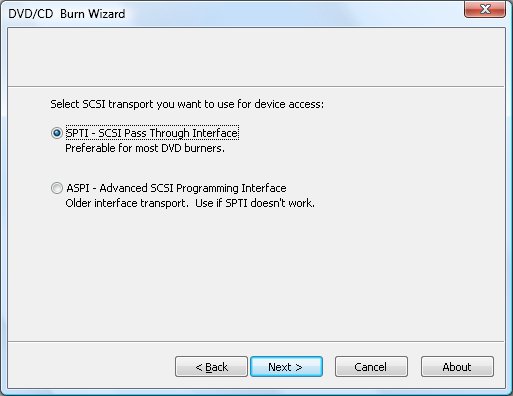
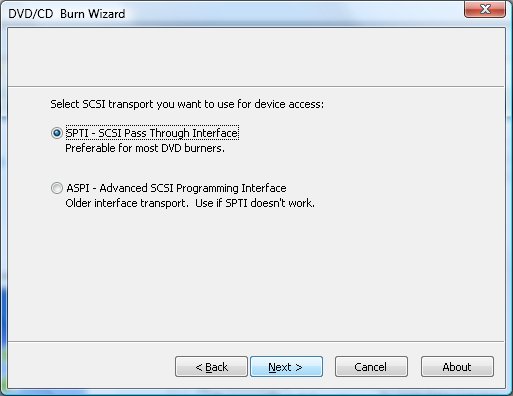
Once the Conversion process ends, then the Burn process begins. First of all, select the SPTI default and click Next:
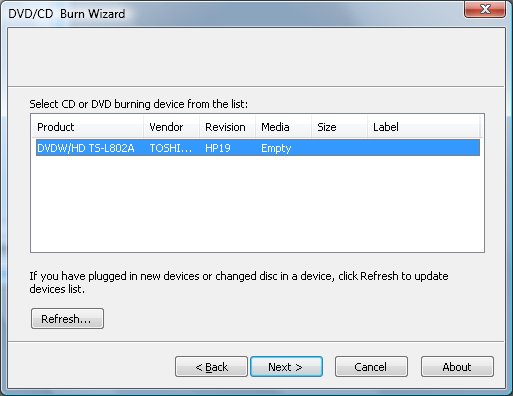
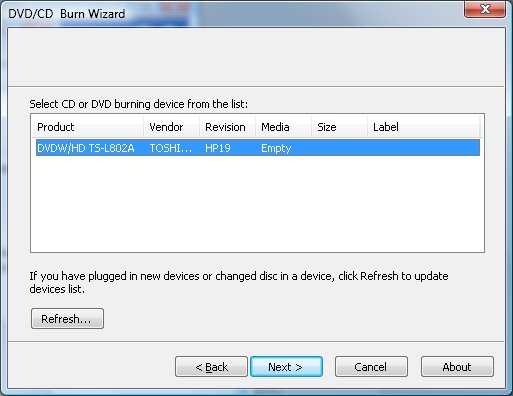
Select a CD drive from the list and click Next.
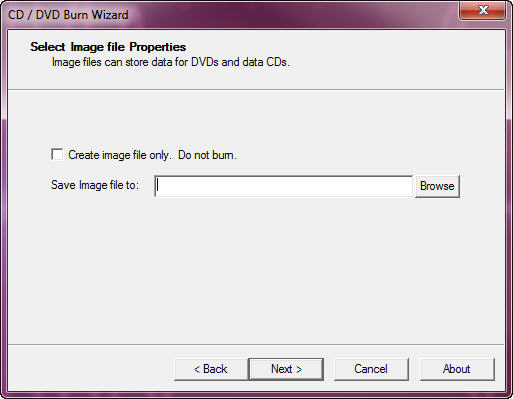
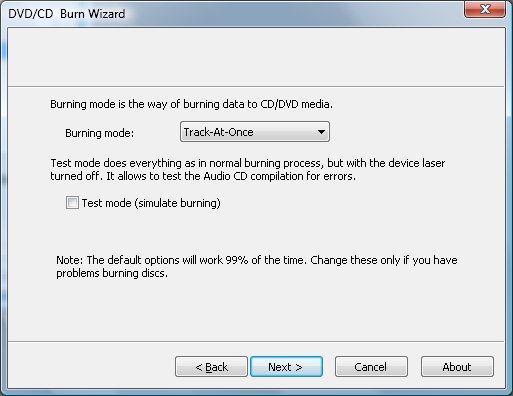
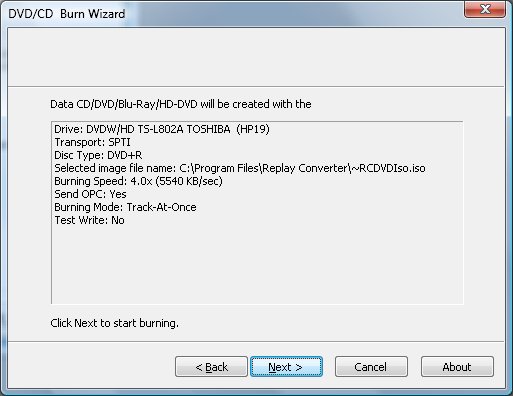
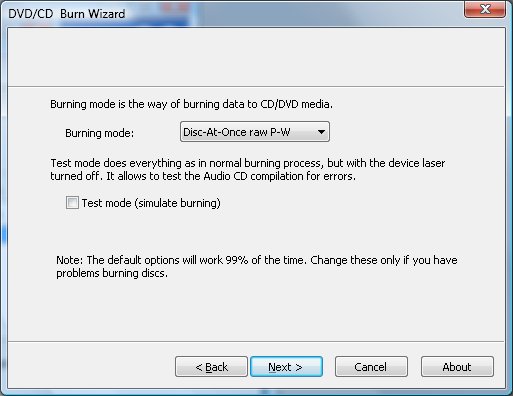
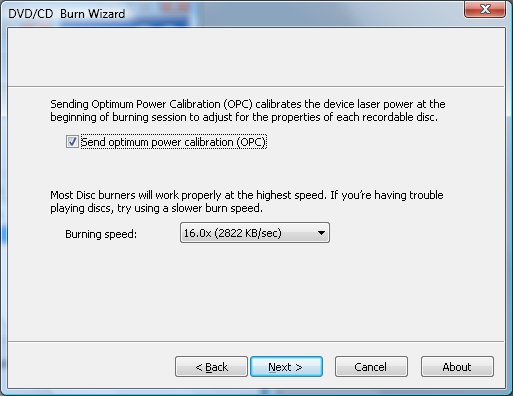
Continue to use the defaults in the next 3 screens and click Next each time.

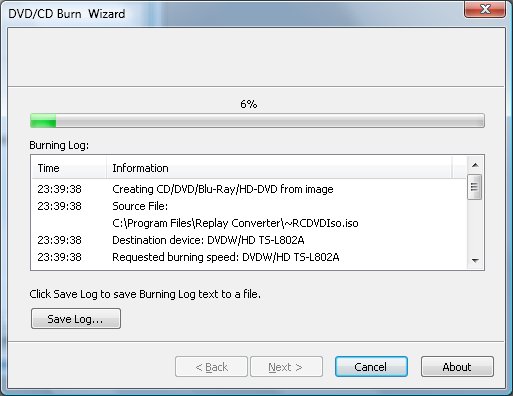
After the last step, the Burn process starts:

Click Finish when the burn process completes.
Replay Converter can create playable video files from DVD's. For example, you could take a video from a DVD and watch it on your iPod or iPhone. (See the legal note below.)
Here's how to rip files from a DVD:
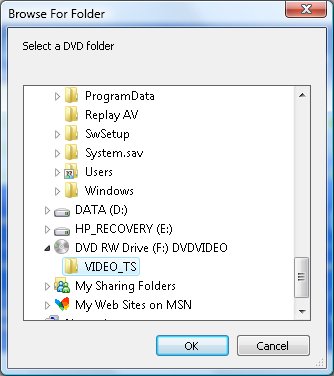
IMPORTANT LEGAL NOTE: Many commercial DVD's are copy protected. However, if the laws in your country allow this, you can use a utility like DVD43 to read those files. Any files created from copyrighted DVD's are to be used for your own personal use, in compliance with the copyright laws of your country.
Here's how to make a copy of DVD. (See the legal note above.)
Click Options. The options dialog appears:

Display Hints: Replay Converter can display helpful hints when the program starts. If you've selected to turn these hints off, you can see them again here.
Display Log: Opens your recording log for troubleshooting purposes.
Open Log Folder: Opens the folder where your log files are located. This is useful in case you need to send tech support a log file.
Computer Resource Usage During Conversion: Select normal for faster conversions or low for better computer responsiveness while converting.
Audio Alert after conversion(s): Plays a pleasant sound when your conversion jobs have finished.
Disable Direct Show Codecs installed by Replay Converter: Allows you to temporarily disable the DirectShow codecs installed by Replay Converter when these DirectShow codecs interfere with another media application installed on the your computer.
Transfer files to iTunes after conversion(s): Automatically adds your converted files to your iTunes library.
Remove the audio track from a video:
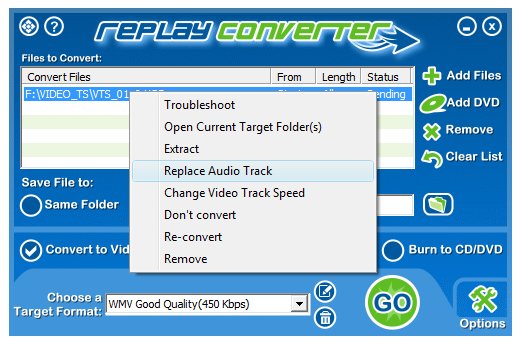
Replace the audio track in a video:
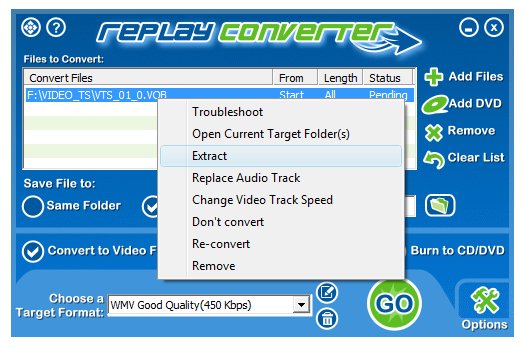
Extract a portion of a file to convert:
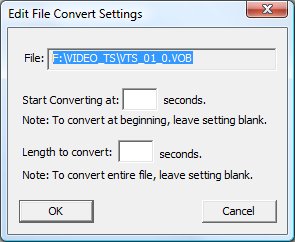
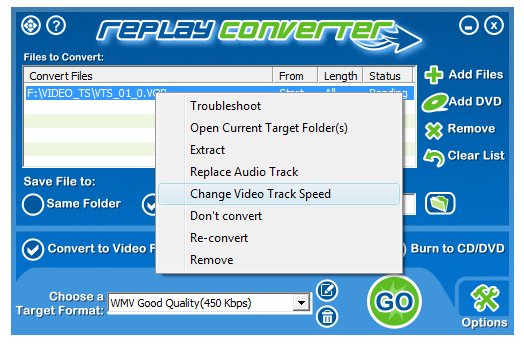
Change the video track speed: Use this option to speed up or slow down the playback of your video. This is great for creating time-lapsed videos or re-syncing audio or video files that are having problems re-syncing using the troubleshoot function because of audio gaps in the video.

As you've seen, Replay Converter is pretty straightforward to use. Here's a few hints and tricks that will save you time and effort.
Picking Files
Instead of using the Add Files button, you can also drag and drop files into Replay Converter from Windows File Explorer.
Reordering Files
You can change the order of files in the list in two ways:
Converting Video files to Audio
You can make MP3 or any other audio format from video files - this is great if you want to listen to a TV show on your iPod, for example. The conversion process is the same as converting audio files. Just add your video file(s) to the list and make sure to select the correct Audio Target Formats
Removing Files from the conversion list
Use the Remove button to remove the selected file from the conversions list, or click Clear List to remove all files.
Picking a folder for converted files
Replay Converter will place a converted file in the same folder as the original, or place it in a new folder. Use the Write file to Same Folder or Write File to New Folder options.
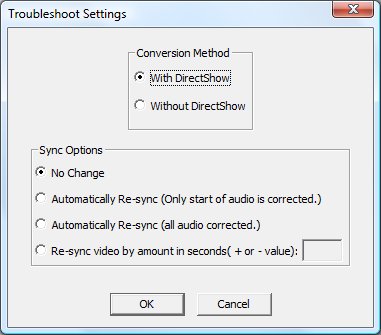
If you perform a conversion, and the conversion fails or the converted file doesn't play properly, try this:
OR
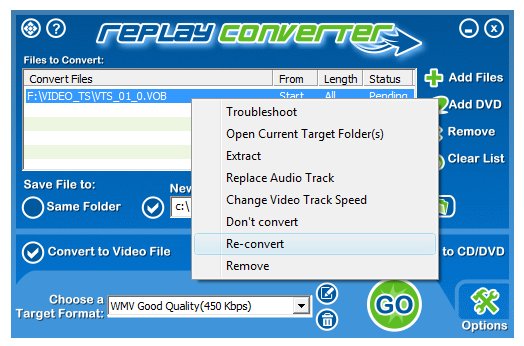
If you'd like to just select a new target format and try converting again, simply right-click on the source file and choose Re-Convert:
The following shortcuts can be used in Replay Converter:
ALT + M = Minimize.
ALT + E = Exit.
ALT + T = About.
ALT + B = Target file browse.
ALT + D = Add file.
ALT + R = Remove file.
ALT + L = Clear file list.
ALT + S = Write to same folder.
ALT + N = Write to new folder.
ALT + A = Convert to Audio.
ALT + V = Convert to Video.
ALT + C = Start Conversion job.
ALT + O = Options.
ALT + H = Help.
ALT + X = Do not convert audio in video.
ALT + Y = Select Burn to CD/DVD check box.
ALT + P = Select Add DVD option.
Shift + Up Arrow = Move selected file up the list.
Shift + Down Arrow = Move selected file down the list.