Stream It. Record It. Keep It.

Replay Media Catcher 4 is the easiest, most advanced streaming media recording technology ever created. Once active, Replay Media Catcher will save video and audio files from thousands of web sites as they play on your PC. These files can be transferred to other devices, burned to a CD or DVD disc, or incorporated into other programs like PowerPoint or video editors.
Besides being a simple-to-use streaming media recorder, Replay Media Catcher 4 has some other handy features:
Replay Media Catcher 4's recording technology is superior to other products. As you play a media file, it gets captured in one of two ways:
Note: Some web sites use encryption when playing video. These sites require an on-screen recording product like Replay Video Capture to record video.
Replay Media Catcher is available in many different languages besides English. To change the language, select Help, Language from the menu:

We are adding new languages constantly. If you'd like to help translate Replay Media Catcher into your native language, please send us a support ticket.
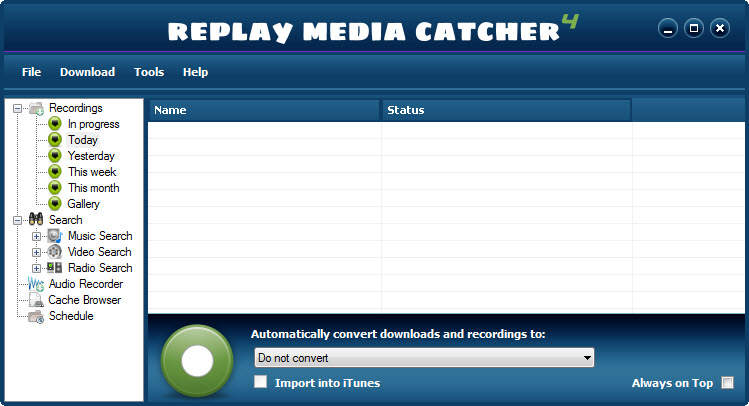
When you open Replay Media Catcher, you'll be asked if you'd like to "start recording " the network activity on your PC for recording:
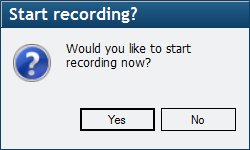
Click Yes, and any supported video or audio file you play will be captured. You can also click the "Start Recording"  button at any time for the same effect.
When Replay Media Catcher is actively capturing video and audio, the "start" button changes to a "stop" button, and you'll see that it is active like this:
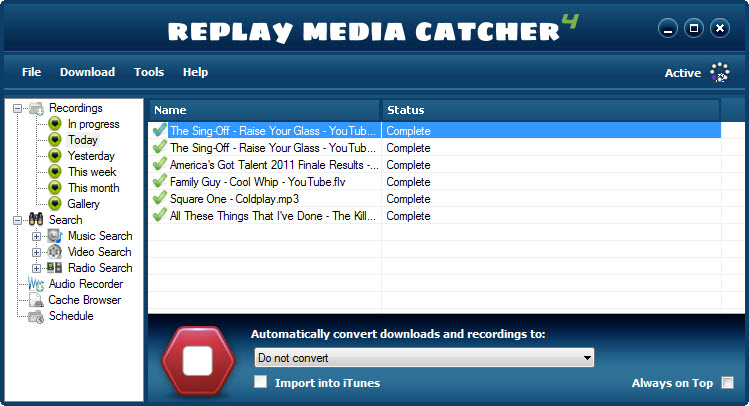
A Replay Media Catcher icon also appears in the system tray on the lower right of your screen, and it appears differently when Replay Media Catcher is active.
Once active, media you play will appear in Replay Media Catcher's list of recorded media. If you want to stop capturing new media files, click the Stop button![]() . This will prevent future video and audio you play from being captured until you click the Start button again.
. This will prevent future video and audio you play from being captured until you click the Start button again.
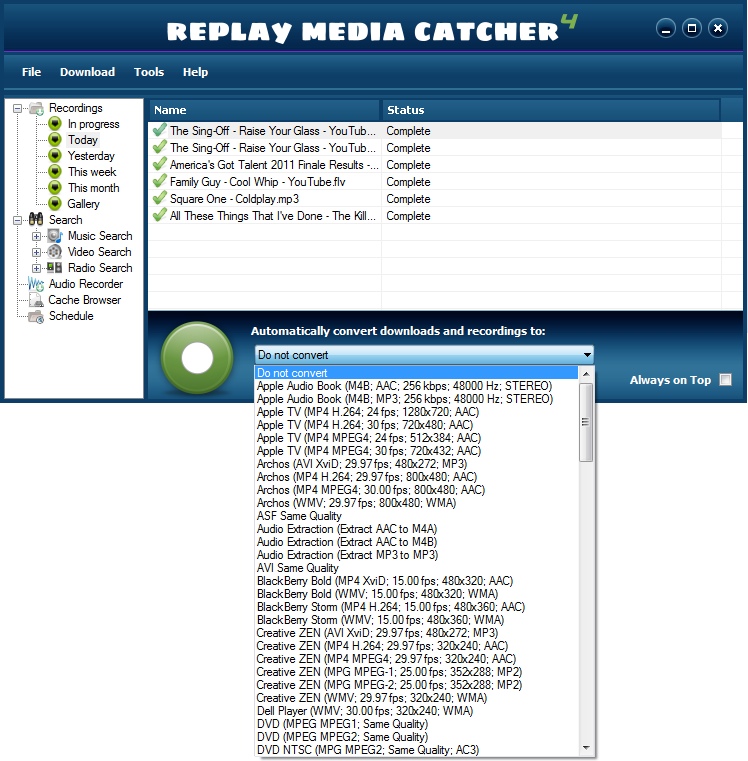
Replay Media Catcher 4 can automatically convert captured media files to other formats. Under Conversion Settings on the main screen, just choose the final format for your recorded files. Once a file has been captured, the conversion process begins automatically.
You can also convert a file after it has been captured. Here's how:

Note: When you convert a file, the original will be removed.
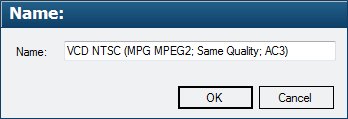
Note: You can create your own custom conversions using the Conversions Settings option from the Tools menu.
Once a file has been saved and converted, it's easy to play:
Replay Media Catcher comes with the free Applian FLV Player for playing FLV format files, just in case your PC is unable to play them. For all formats, your PC's default player is used.
Hint: Use Tools, Open Storage to open the folder where your saved recordings reside. You can play files from there by double-clicking them.
Replay Media Catcher is able to automatically name most captured media files, but there may be times when you want to change the same of the file. Here's how to do it:
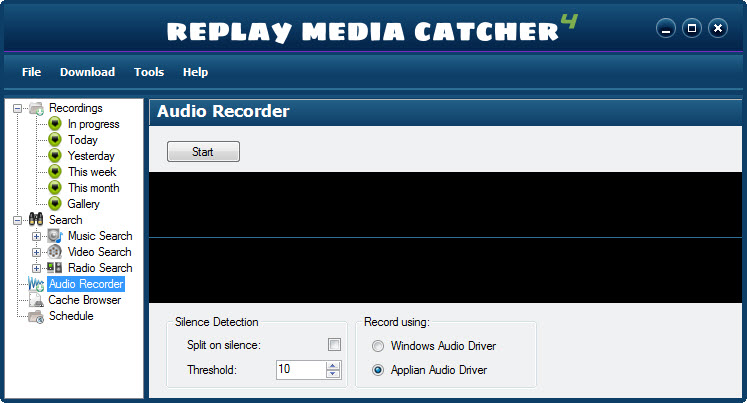
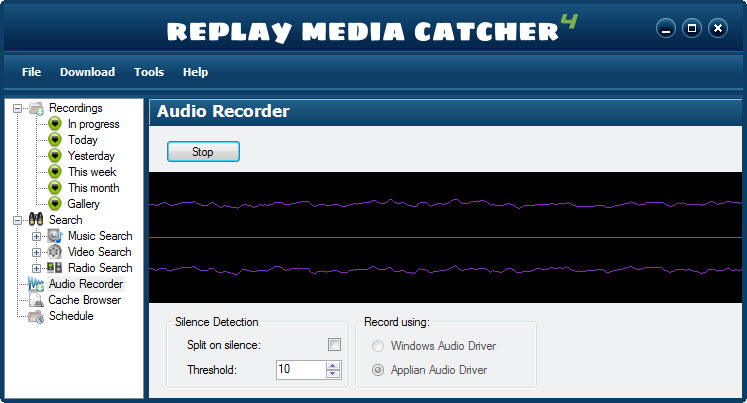
The Audio Recorder lets you save audio as it plays through your PC's speakers. You would use this if Replay Media Catcher is unable to record audio from a particular web site due to encryption, or if you'd like to record audio from any program playing on your PC.
Here's how to use the Audio Recorder:
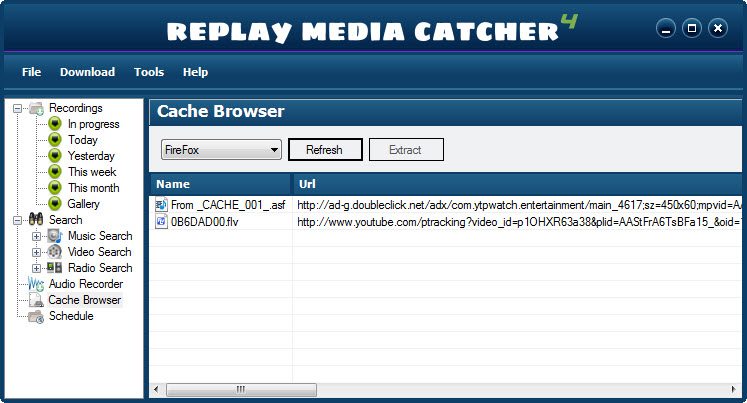
In most cases when you play a video in your browser, the browser saves a copy in its temporary cache so that it will load more quickly next time you'd like to play it. Replay Media Catcher can view this cache and allow you to extract videos from it. Here's how:
There may be times when you'd like to have Replay Media Catcher record live video or audio automatically at a predetermined time. Here's how to do it using the Scheduler:
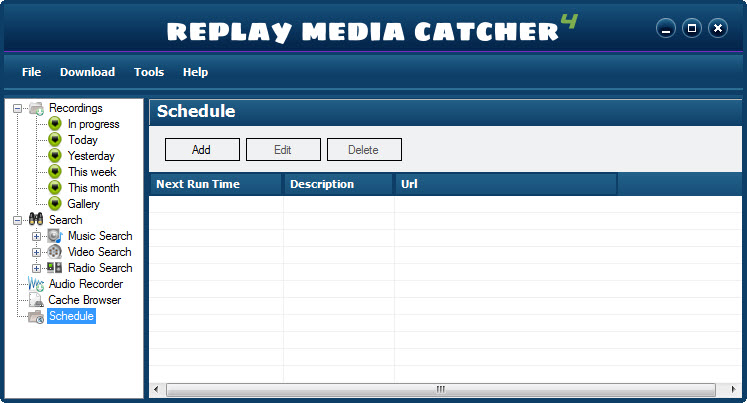
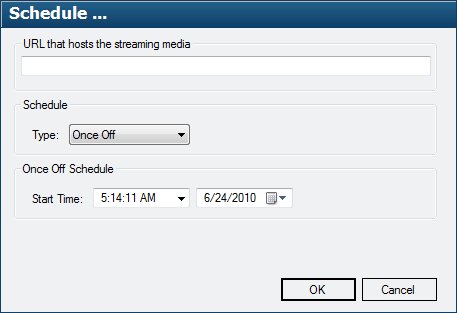
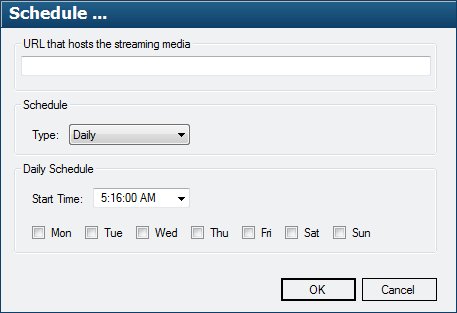
Important: Scheduled recordings will run until the media has stopped playing, or until the Max Download Time (under Tools, Settings, Download Settings) has been reached.
Click Tools, Settings from the menu to see the various settings for Replay Media Catcher. Here's what you can configure:
Storage Folder
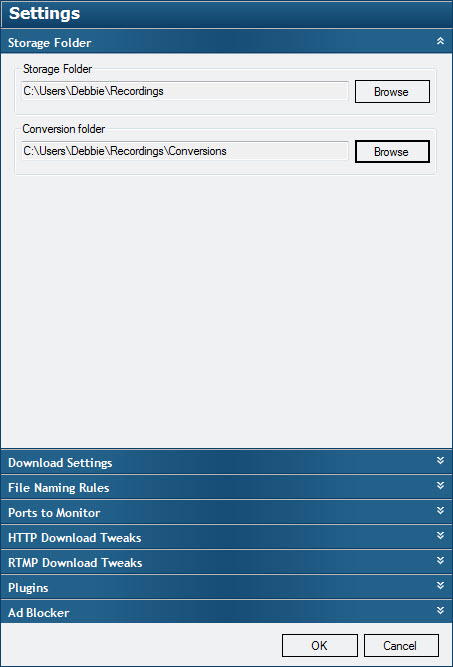
The Storage Folder is where your recorded files are placed. The Conversion Folder is where converted files go.
You can use the Tools, Open Storage menu selection to open the folder where your saved recordings are located.
Download Settings
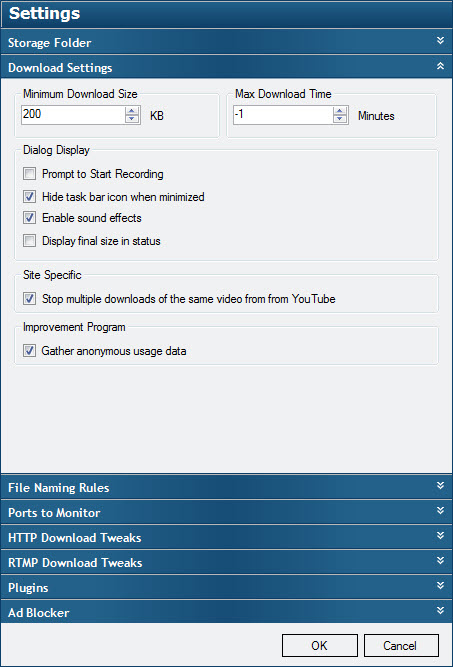
Minimum Download Size specifies the smallest file that is saved. Many times when recording, small Flash animations or advertisement files can be captured by Replay Media Catcher. You can increase the size if you discover you are getting too many unwanted files.
Max Download Time lets you decide how long you want to record. Set this value to -1 for unlimited recording time. This setting prevents really large live streams from completely filling up your PC, and is also used by the Scheduler for ending live recordings.
Automatically Identify and Tag Music activates the music identification service, which automatically tags saved music files with the Author, Title, Album and Genre of the song if it is identified.
Prompt to Start Recording makes sure you are asked each time you start Replay Media Catcher whether you'd like it to begin recording.
Hide Task Bar Icon when Minimized will send hide the program icon in the task bar when the program is minimized. You can restore the program from the icon in the system tray.
Enable Sound Effects will play a short sound when recording starts/stops and when a download completes.
DisplayFinal Size in Status will show the size of your downloaded files in the main window.
Stop Multiple Downoads of the Same Video from YouTube will examine YouTube urls for &len= and &begin= parameters and remove them .This will ensure only one download happens at a time as the urls will all be the same.
Gather Anonymous Usage Data allows us to use anonymous usage data to improve Replay Media Catcher.
File Naming Rules
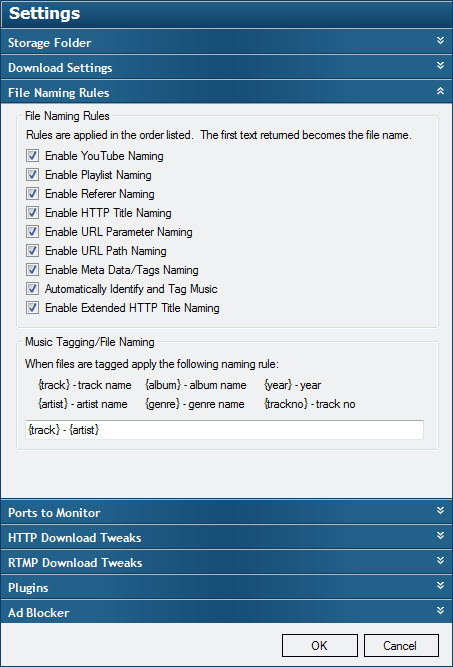
File Naming Rules are applied in the order listed. The first text returned becomes the file name. If you wish more control over file naming, you can switch rules on and off as required.
Music Tagging/File Naming lets you specify how you would like your music files named. For example using the default {track} - {artist} would have your file names look like this: Free Bird - Lynyrd Skynard.mp3. You can combine as many of these rules as you like.
Ports to Monitor
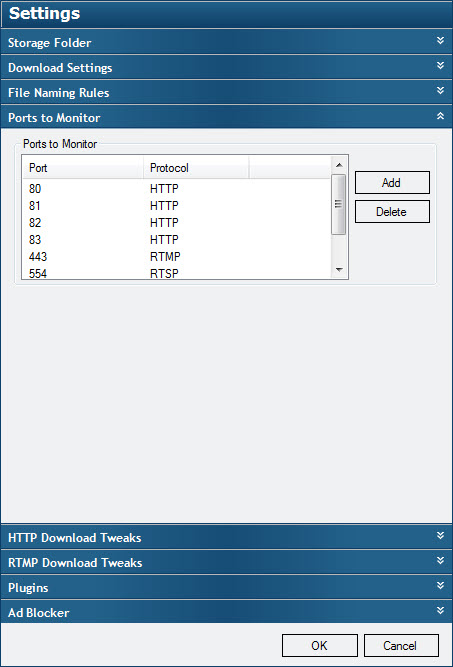
Some web sites or media player programs may use non-standard ports for playing media files. You can add other ports if you discover that a different port is being used and Replay Media Catcher isn't recording something it should.
HTTP Download Tweaks
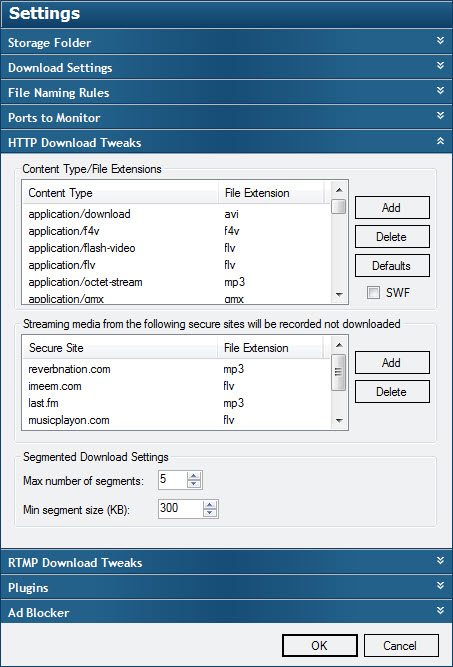
This dialog shows the HTTP content types that Replay Media Catcher recognizes, and what extension it adds to the saved file. You will only need to change this if you are technically savvy, and a new media type is discovered.
The Secure Site list is for web sites that require the record method to be used to capture audio or video. Some web sites create a unique URL for each media file when it is played, which makes the standard download method ineffective. If you're having trouble recording from a site, try adding it here. (See How Replay Media Catcher Records for details on recording vs. downloading.)
Max number of segments: When Replay Media Catcher downloads, it asks for different parts of the media simultaneously. This effectively speeds up the downloading process. If you find that Replay Media Catcher is using too much network bandwidth to record, reduce this number. Increasing this to more than 5 segments won't speed up downloads though.
Min Segment size: Lets you determine how big the smallest segments to download should be. For example, if this is set to 300 Kb, and the size of the video to be downloaded is 300 Kb, then a single request will be used. For smaller media files, downloading with a single request is faster than using multiple segments.
RTMP Download Tweaks
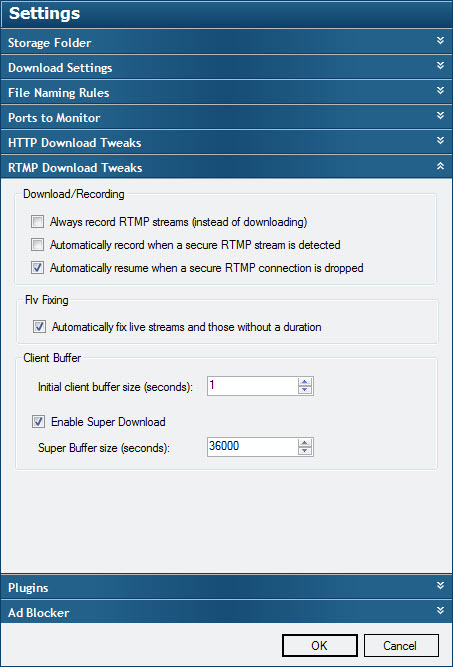
Always record RTMP streams (instead of downloading): Select this option if you discover that many of your favorite sites can't be recorded. If this is in effect, you'll need to play the entire file to capture it. (See How Replay Media Catcher Records for details on recording vs. downloading.) Usually having the automatically resume feature on is enough. Some sites won't allow subsequent resumes of a stream so in this case, you'd switch on RTMP Recording and switch off the Resume feature.
Automatically record when secure RTMP stream is detected: Select this option and Replay Media Catcher will automatically switch to recording mode when a secure RTMP stream is detected.
Automatically resume when a secure RTMP connection is dropped: Enabling this feature allows RTMP/SWF verified streams to subsequently resume downloading. However, some sites won't allow subsequent resumes of a stream so in this case, you'd switch on RTMP Recording and switch off the Resume feature.
Automatically fix live streams: Live media - including web cam sites and radio stations - does not have a "file header" which tells a player program how many seconds long the file is. The fixing process adds header information so that the "seek" option in your favorite media player will work, and that the file plays back at the correct speed.
Enable Super Download for streams less then 60 minutes duration: Enable this option and files under 60 minutes in length will download very fast. The default buffer size is 8192.
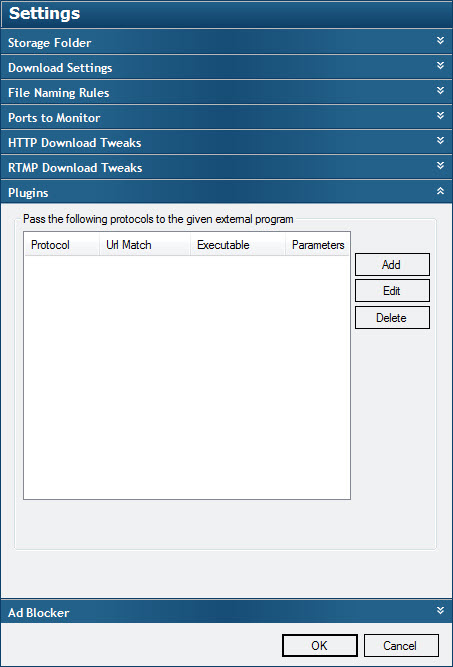
You can add third party plugins like rtmpdump to Replay Media Catcher. If Replay Media Catcher cannot capture a file, installing a plugin will give it extended power. To add a plug-in, click Add:
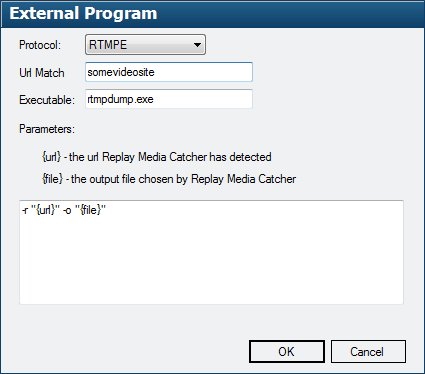
The above example adds a plugin called "rtmpdump" to record RTMPE requests from somevideosite.com.
In this example, place rtmpdump.exe in the Replay Media Catcher install folder and configure as shown above. The “Url Match” is a regular expression that is matched against a detected url that is streaming on a given protocol to determine whether the specified executable should be used to perform the download or not.
Legal Note: Applian Technologies does not support recording Secure RTMP protocols. The plugin option is made available for technically oriented customers, but we cannot support or answer questions on using software from other individuals or companies.
Writing Plugins - Technical Information
A plugin is a windows command line executable that takes a url and output file as command line parameters. The plugin should display its download progress to stdout and error output to stderr – both pipes should be flushed each time something is written to ensure they appear promptly in the Replay Media Catcher interface. It should also return true or false on exit as to whether the download was successful or not so that Replay Media Catcher can display the correct final status.
Ad Blocker

Ad Blocker is disabled by default, but if you'd like better control of what ads or pre-roll videos are blocked, switch this one. The add blocker can block about 2000 odd ad serving domains an when enabled. Replay Media Catcher will not download detected media from any of these domains. Click the Add button to add new domains to the block list. Click the Delete button to delete a domain from the list.
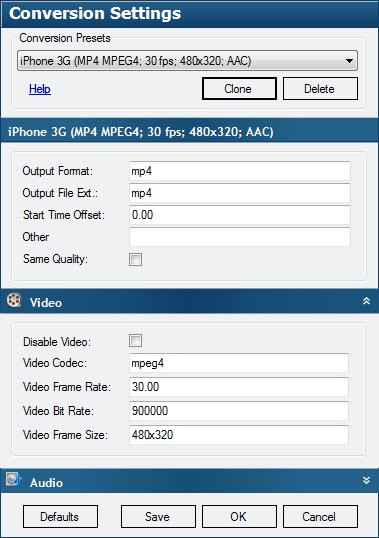
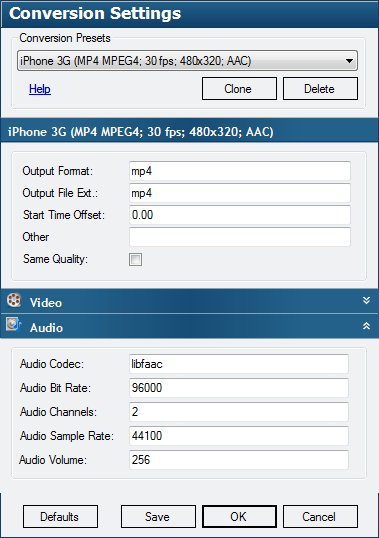
Replay Media Catcher 4 has built-in conversions for many popular formats and devices. If you'd like to create a new output option, or tweak an existing option, use the Conversion Settings tool. Here's how it works:
After a live stream is recorded, the Fix FLV tool will run automatically in order to add the duration metadata in (if its missing). This allows the file to be seeked. If the FLV file plays back at the wrong speed or out of sync, you need to fix the timestamps manually. Here's how:
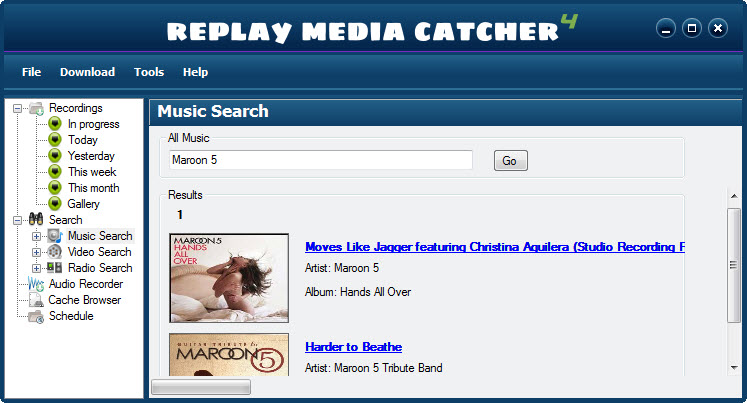
Replay Media Catcher 4 comes with a built-in media search. You can locate videos, music or radio stations right from within the program.
Here's how Music Search appears:
Here's an example of Video Search:
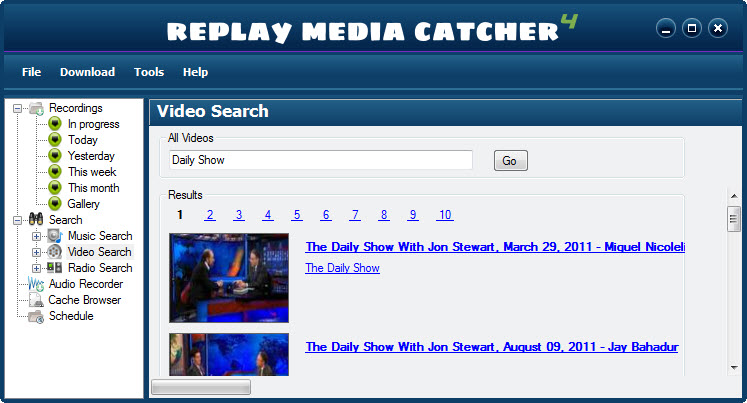
Note: Some videos in the search results that are encrypted may not be recordable by Replay Media Catcher.