Stream It. Record It. Keep It.

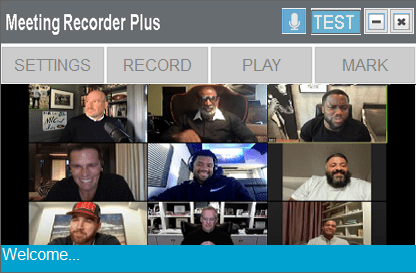
Meeting Recorder Plus is screen capture software designed to record Zoom, Skype, Google Meet or any other video conferencing software you use on your Windows computer.
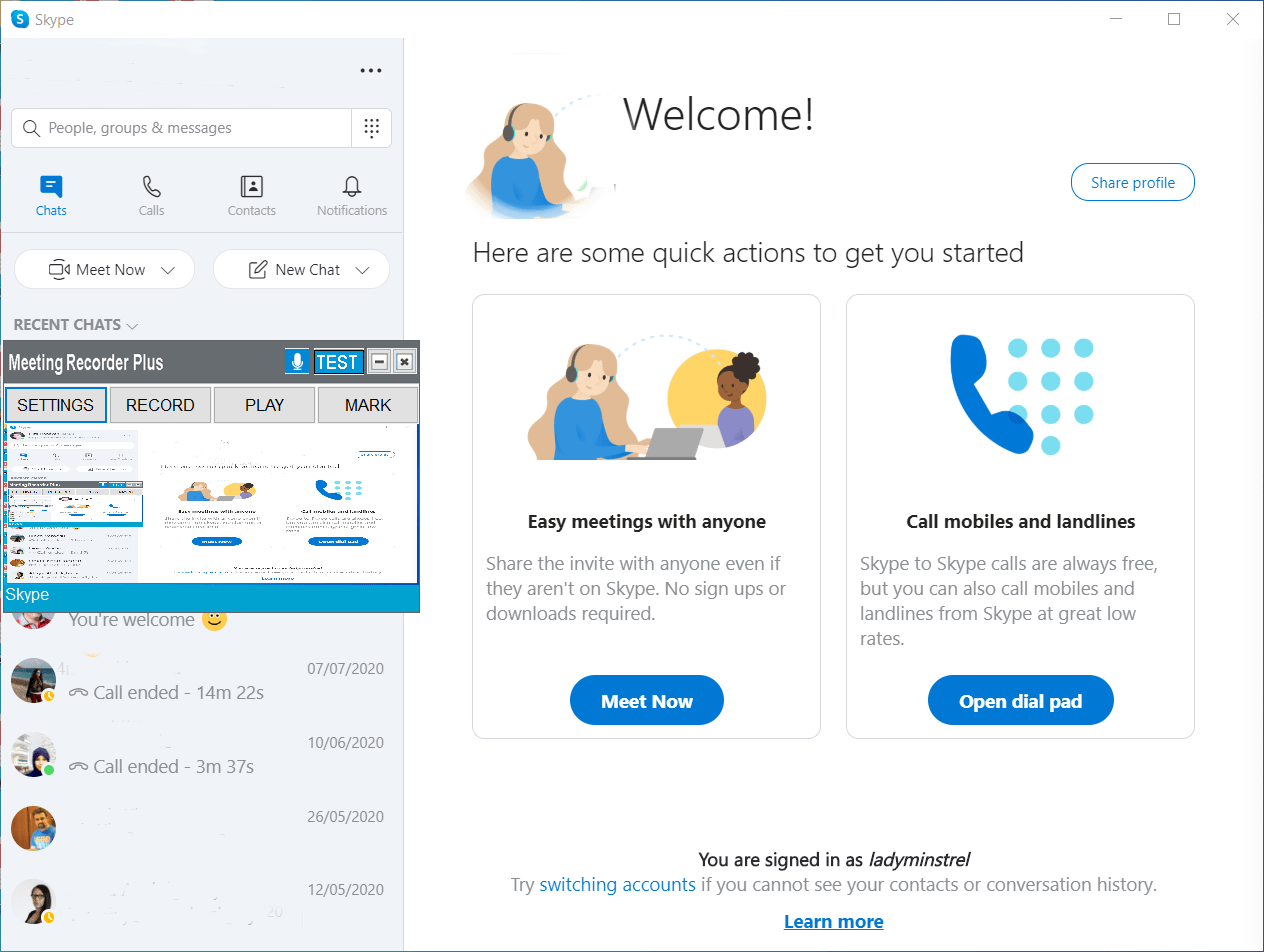
When recording video calls, Meeting Recorder Plus tracks the position and size of Zoom, Skype or Google Meet windows on the screen.
Meeting Recorder Plus is compatible with Windows Vista, 7, 8, 8.1, 10, and Windows 11. Windows XP is not supported.
Meeting recorder Plus includes a unique feature that makes top-quality audio recordings possible even if the call or webinar has lots of participants, and has problems with echo and feedback.
Meeting Recorder Plus comes with a full set of features and options to make top-quality video and audio recordings of your conference calls on Zoom, Skype, Google Meet, and any other video conferencing software. Here's a list of the key features:
Meeting Recorder Plus should be installed by the administrator of the computer. All other user accounts will automatically get shortcuts if the option 'Make shortcuts available to all users' is checked during the installation. Every user will have has his own recording folder and settings. The administrator installation does not need to run in order for other users to run their versions. Only the administrator can uninstall the program.
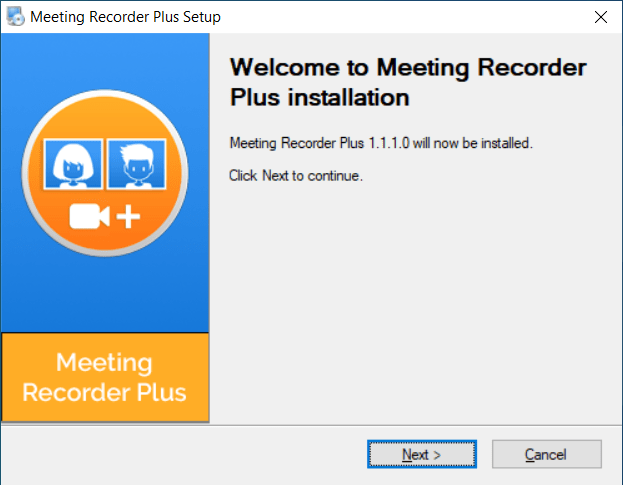
To install Meeting Recorder Plus, download the .exe file and double-click on it to run the installer and follow the steps.
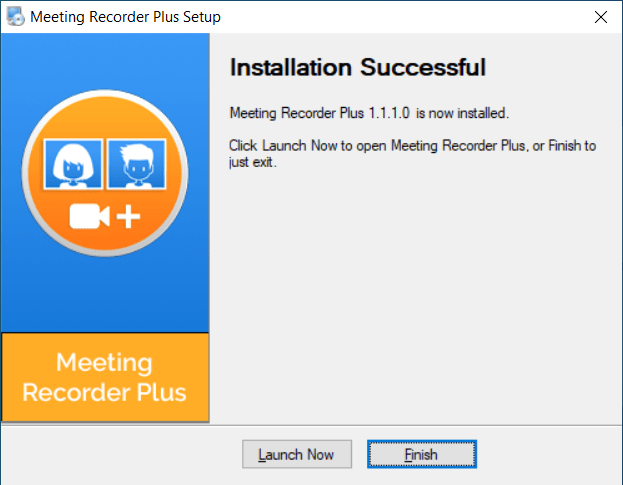
Once Meeting Recorder Plus is installed, you'll be able to launch it straight away by clicking on 'Launch Now'.
When running the program for the first time, you need to specify the following:
Video format used for recording: you can choose between WMV (Windows Media) and MPEG-2. MPEG-2 is the preferred format because of its high quality video recording and low CPU load. Meeting Recorder Plus includes all the necessary codecs.
The WMV format generates smaller recorded files with moderate video quality. All the necessary codecs are supplied by Windows and they may not be available in all Windows versions.
Video/audio player used for playback: you can choose between your default player and VLC Media Player. VLC is preferred if installed. The default player for Windows 10 (usually Movies & TV) may not support MPEG-2 format out of the box but it will guide you to install a free codec.
Once these settings are configured, you're ready to start recording. Your audio system settings including playback and recording devices (microphones), sample rates, and the number of channels are detected and displayed in the TEST window that opens.
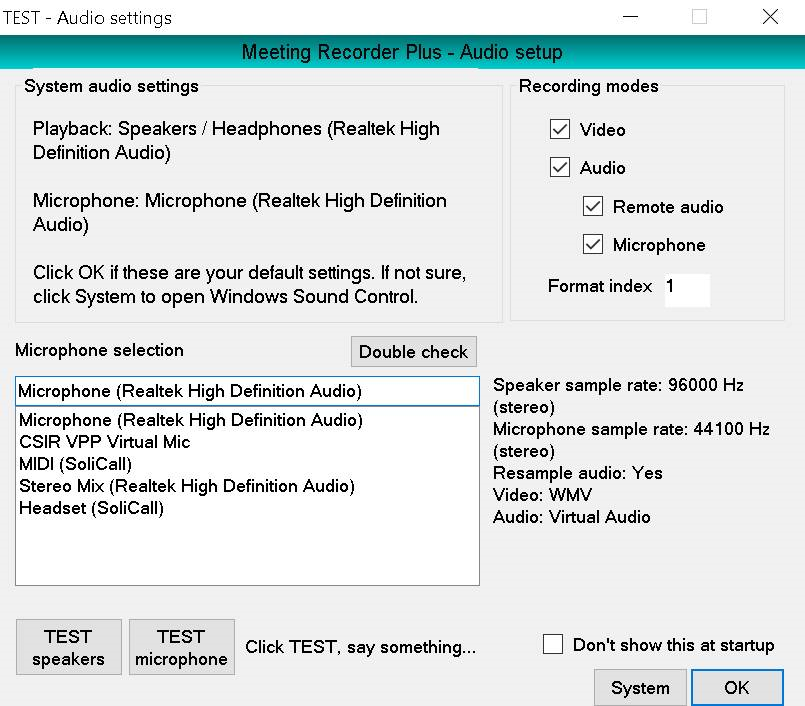
The TEST window displays all the necessary information for recording the speakers and the microphone. The default microphone is always shown on top the list and is pre-selected. If the speakers or microphone are not Windows default devices and audio resampling is necessary, it will be indicated by "Resample Audio: Yes".
The recording video/audio formats are also displayed.
Different recording modes can be selected using the checkboxes or the Format index.
Test the speakers by clicking the "TEST speakers" button.
Test the microphone by clicking the "TEST microphone" button, then saying something and listening to what was recorded. Speak for at least 5 to 6 seconds. Some Bluetooth or USB microphones may repeat the recording.
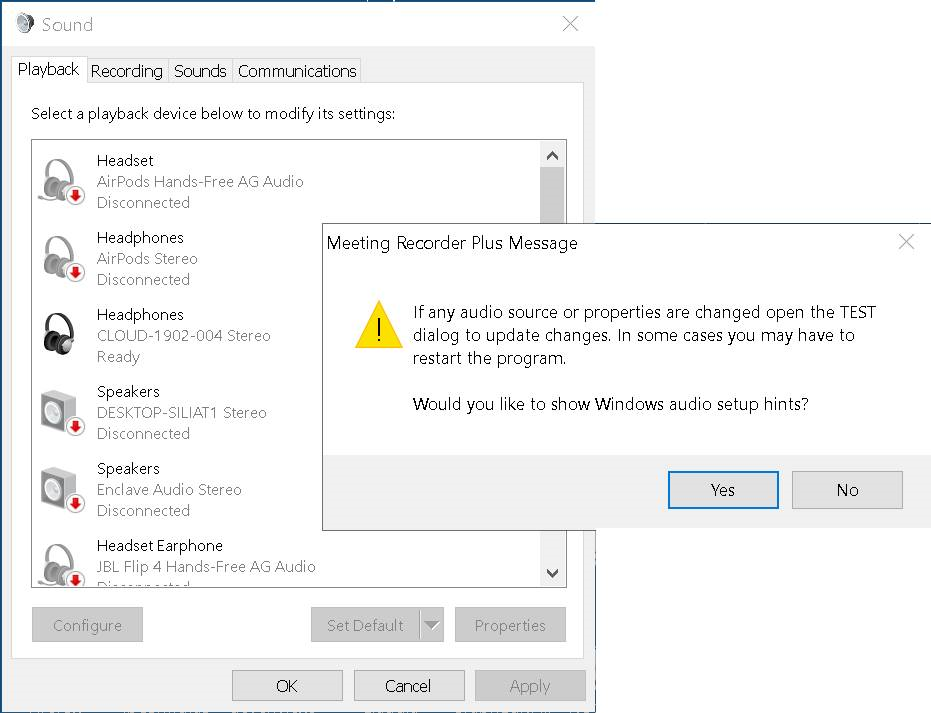
System button opens the Windows Sound dialog, which should be used to make audio changes. We recommend closing the program if any changes are made and then opening it again.
You can always adjust the settings by going to Settings from the main program window.
Once the playback and the microphone are set up, you can begin recording video and audio calls.
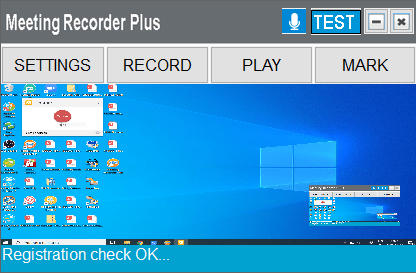
SETTINGS - opens the Settings dialog window.
RECORD - click the RECORD button to start recording. When recording begins, the RECORD button turns to STOP and PLAY turns to PAUSE. Click STOP to stop recording. Click PAUSE to pause recording. You can also use hotkeys to control recording, playback and Smart Microphone.
PLAY - click this button to play the last recorded video, open the storage folder or set up the storage folder.
MARK - use this function to manually mark the area of the screen to be recorded. A transparent window rectangle is displayed. You can resize and move the window (grab the top of the transparent window) to match the desired screen area.
When recording the Skype, Zoom or Google Meet windows, manual marking is not necessary as Meetings & Chats automatically tracks these windows on the screen.
To access the settings, click on the Settings button on the main screen.
Video - open the video format selection and settings.
Audio - open the audio driver selection.
Smart Microphone - open Smart Microphone settings.
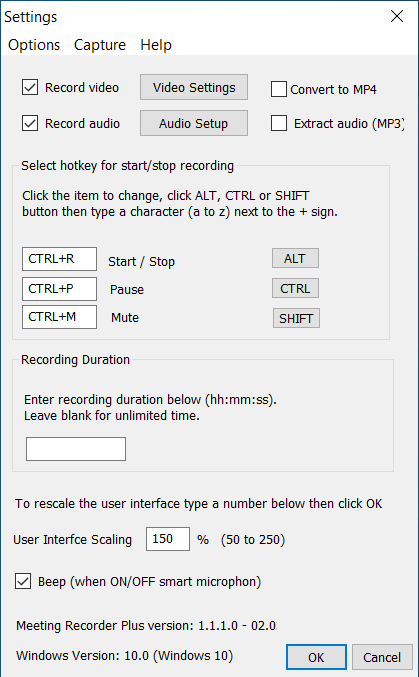
Select hotkey for start/stop, pause, mute: MEETING RECORDER PLUS main screen is designed to clone the main video and show what is being recorded. In most cases it should be left visible on the screen. However you can use a hotkey to stop/start recording if the program user interface overlaps the recording area.
Recording duration - use standard clock format hh:mm:ss.
Main screen scaling: use this to make the MEETING RECORDER PLUS main screen larger or smaller.
To open the Options menu, click SETTINGS on the main screen and then click Options in the Settings window.
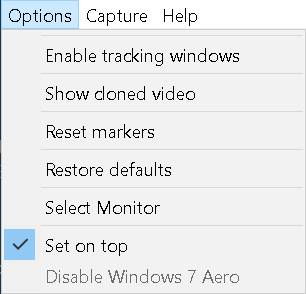
Enable tracking - use this option to enable tracking of Zoom, Skype and Google Meet windows when "Marked region" or "Full screen" are selected.
Show cloned video - show the cloned area of the screen that you want to record.
Reset markers - reset the marking window to the default position on the main display. This may be necessary when a second monitor is turned off but still connected.
Restore defaults - restore setting to their original values.
To access video capture modes settings, go to Settings - Capture. The capture settings are also available under the MARK menu on the main screen.
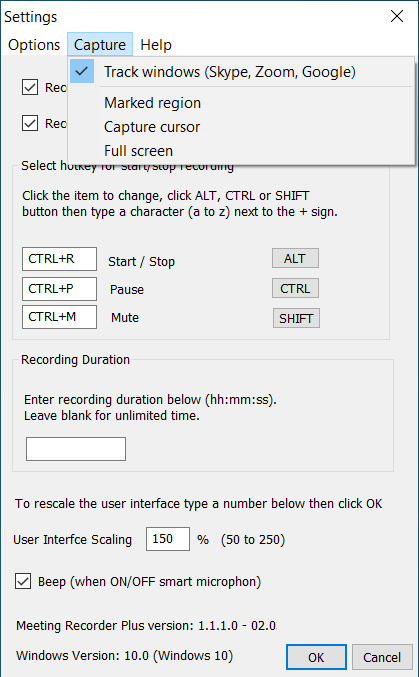
The following recording modes are available:
Marked region - when this mode is selected, only the marked portion of the screen is recorded and the player windows are not tracked. To mark a screen region, click MARK - Mark a screen region.
Full screen - the entire screen is recorded.
Capture cursor - capture the cursor.
Track windows - use this option to enable tracking of Zoom, Skype and Google Meeting windows.
To access video settings, go to Settings and click on the Video Settings button.
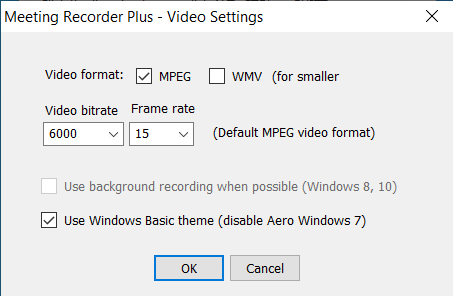
Video bitrate - the higher this number (kbps), the better video quality but larger recorded files.
Frame rate - in order to lower CPU loading and file size use smaller numbers (15 or 10 fps). Leave blank for unlimited recording time.
Use Windows basic - this mode considerably lowers the CPU load (Windows 7 only).
MPEG-2/WMV - select the desired recording format. The recommended recording mode is MPEG-2 (see above).
Audio driver selection
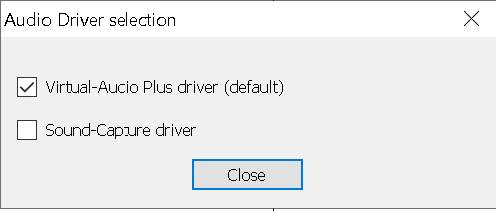
Select between Virtual Audio and Sound Capture driver. Virtual Audio must always be used. Sound Capture is still available for backward compatibility. It can only be used with Windows default audio devices and settings.
Smart Microphone is an advanced feature of Meeting Recorder Plus. It improves the quality of audio recording when the computer microphone and speakers are used together. Here are the main features and uses of the Smart Microphone when recording:
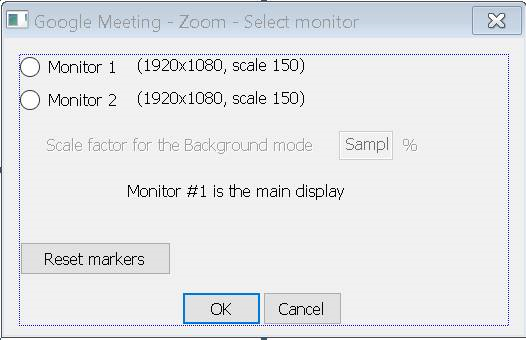
When using two monitors, you need to specify the monitor where the Zoom or Google Meet window is used. This is necessary if you are using the ‘Marked region’ or ‘Full screen’ modes.
Monitor 1, Monitor 2: Select the monitor where the video to be recorded resides. Monitor 1 is always the main display regardless the monitor numbers shown by Windows.
When one of the auto tracking modes is used, it is not necessary to select monitors. Meeting Recorder Plus will track the Zoom or ‘Main’ or ‘Small’ Google Meet window on either one of the two monitors. You only need to select a monitor when the ‘Marked region’ or ‘Full screen’ modes are used.